Outdoor Bar / Potting Bench / BBQ Prep Station
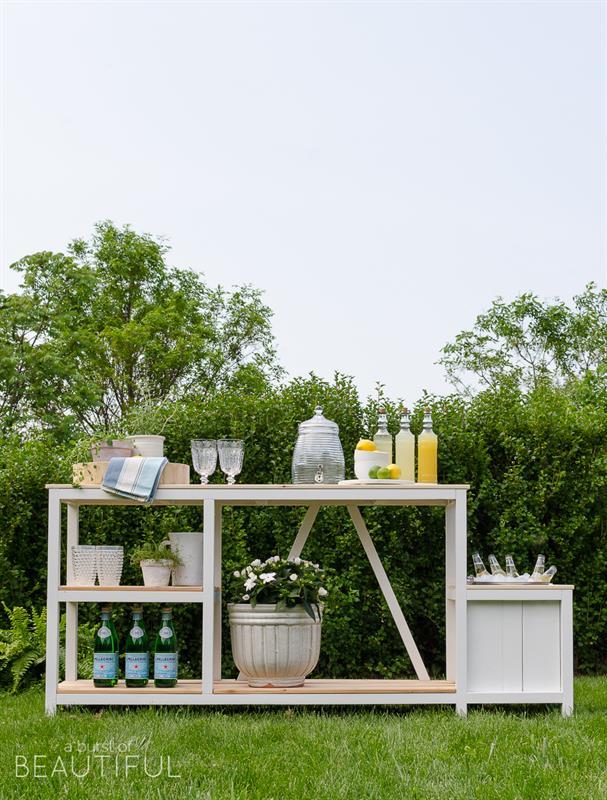
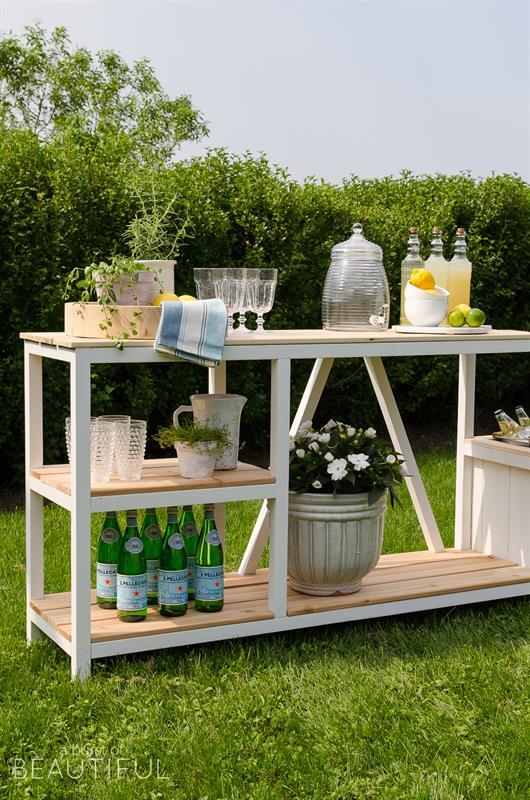
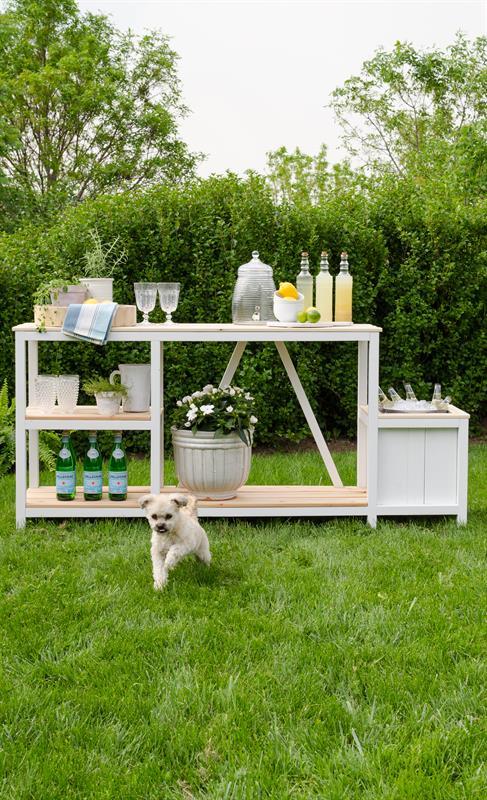
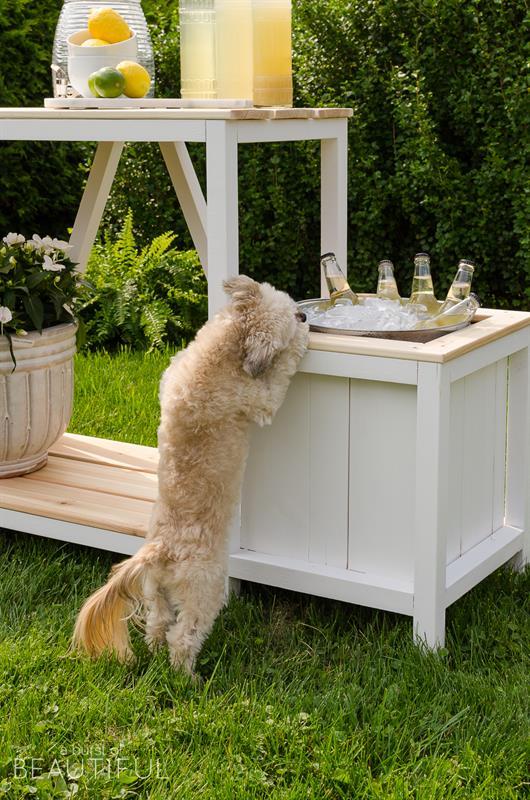
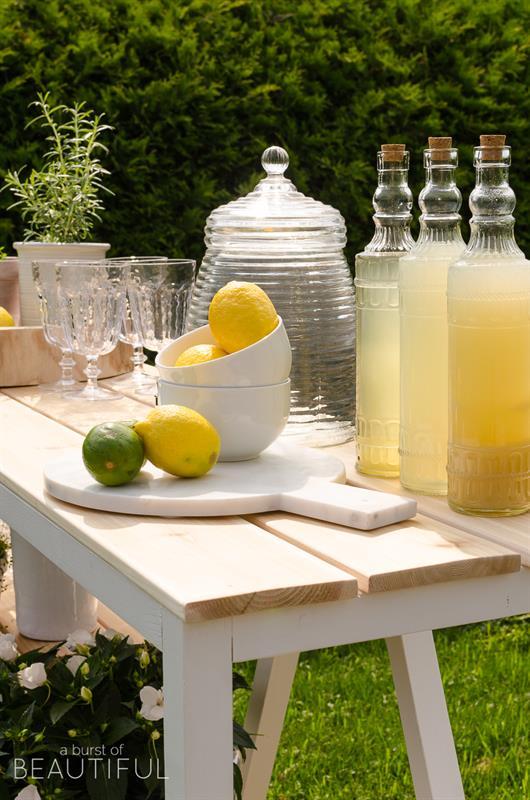
By Nick + AliciaThis outdoor piece is a great multi-functional station for your outdoor living space. It could be utilized as a bar with drink/ice bucket, potting bench with soil or BBQ prep station with herb planter. It features open shelving for storage and easy access to glassware and other outdoor prep items.
Directions
-
Build Ends
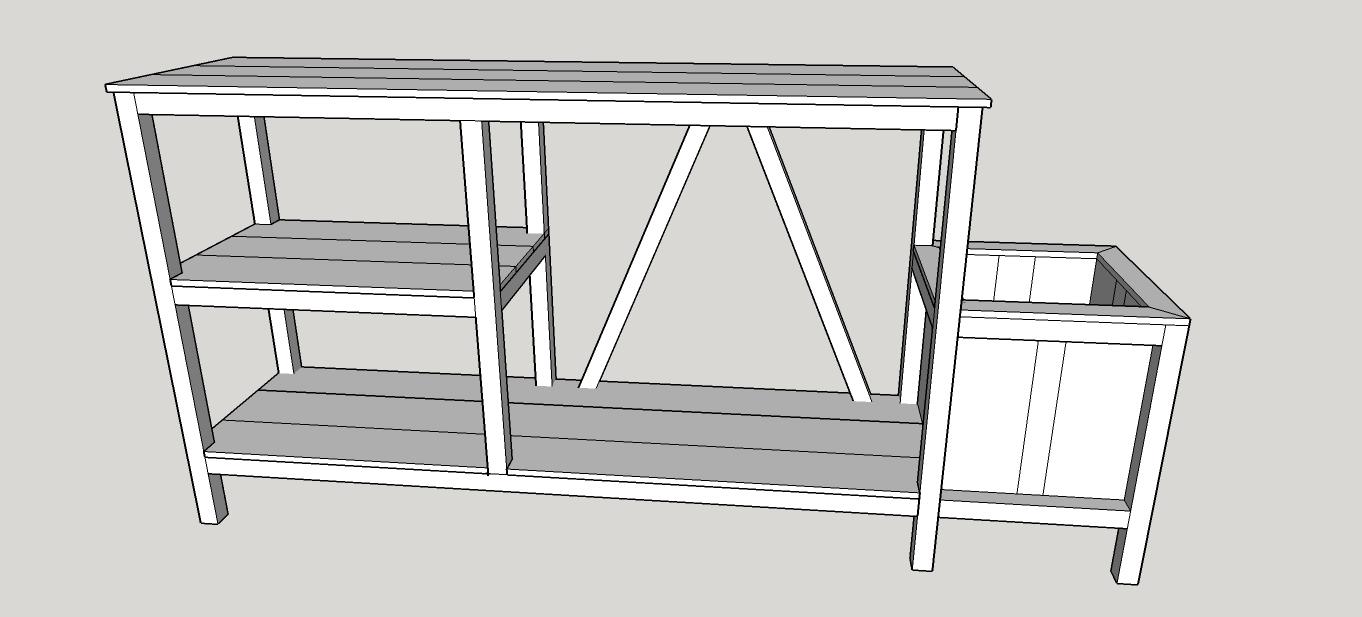
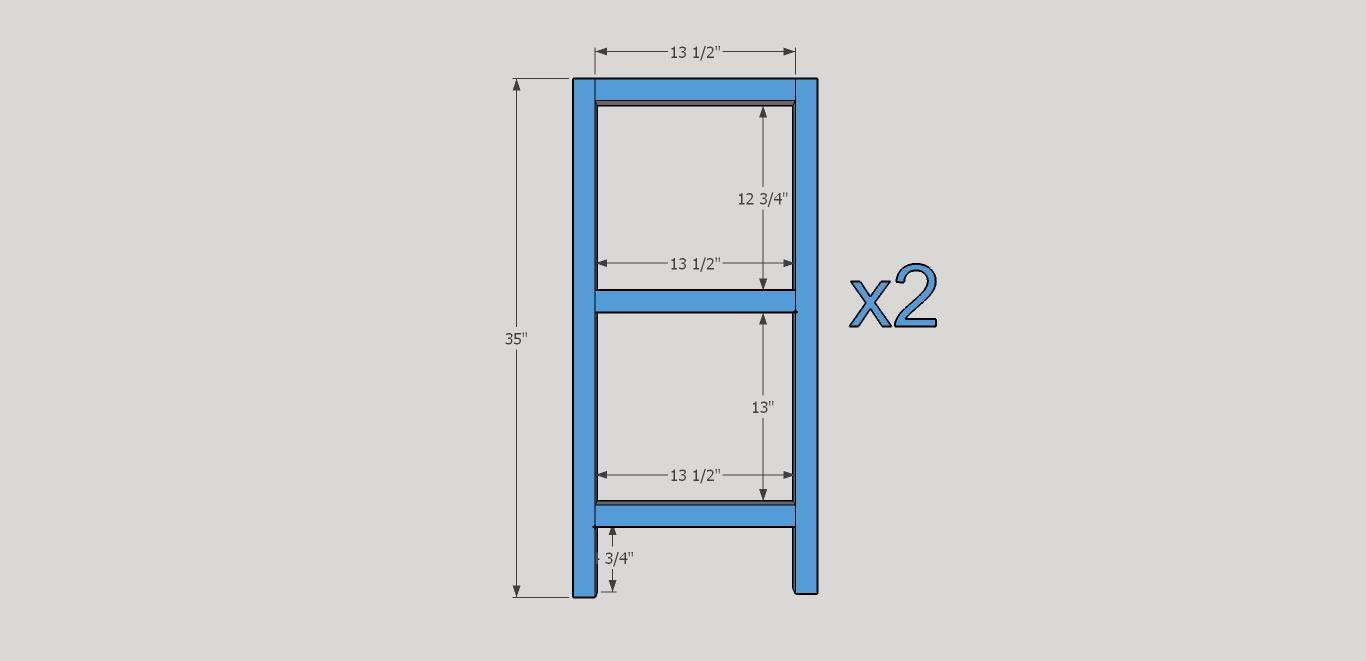
Create two of these end frames. Each of the 2x2x13.5" pieces should have two pocket holes in each end on the under-side. Secure the 13.5" pieces in the locations indicated using wood glue and 12 - 2 1/2" Kreg Blue-Kote pocket hole screws.
-
Attach Spans
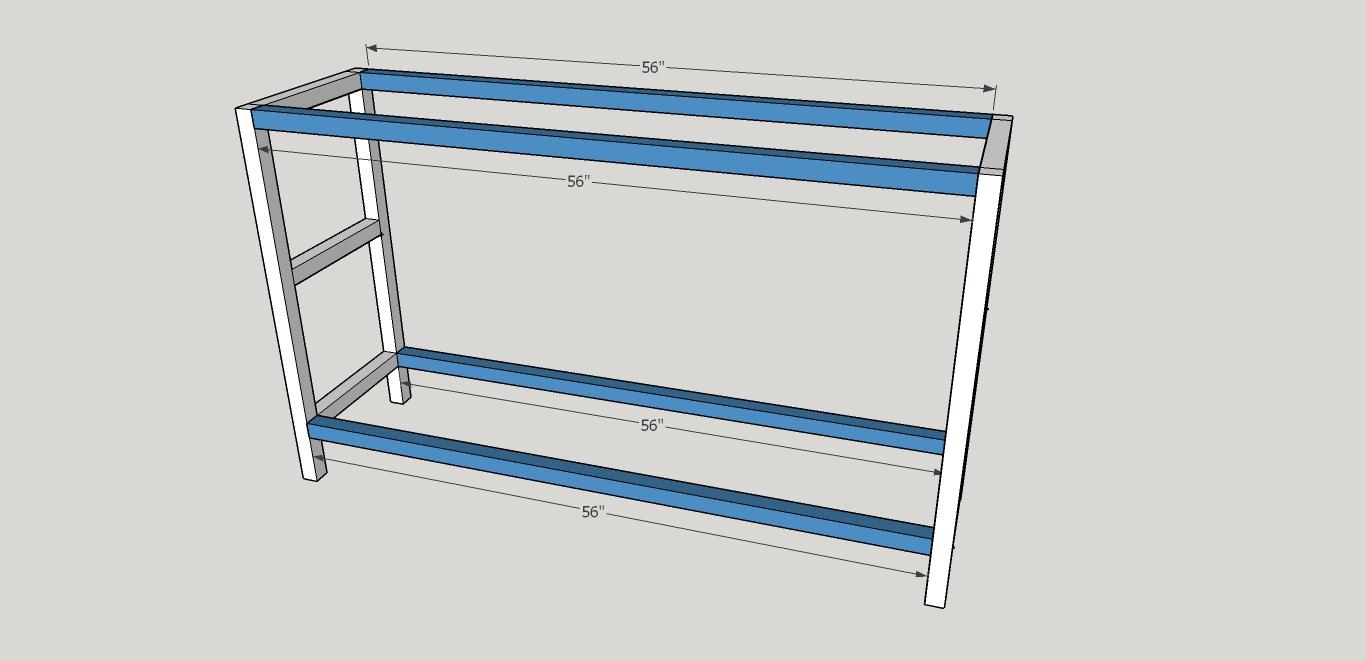
Drill two pocket holes on each end of the 2x2x56" pieces. Again, these should be on the underside of the boards. Clamp all four 56" pieces in place, ensure square and secure with wood glue and 12 - 2 1/2" Kreg Blue-Kote wood screws.
-
Add Mid Shelf Support
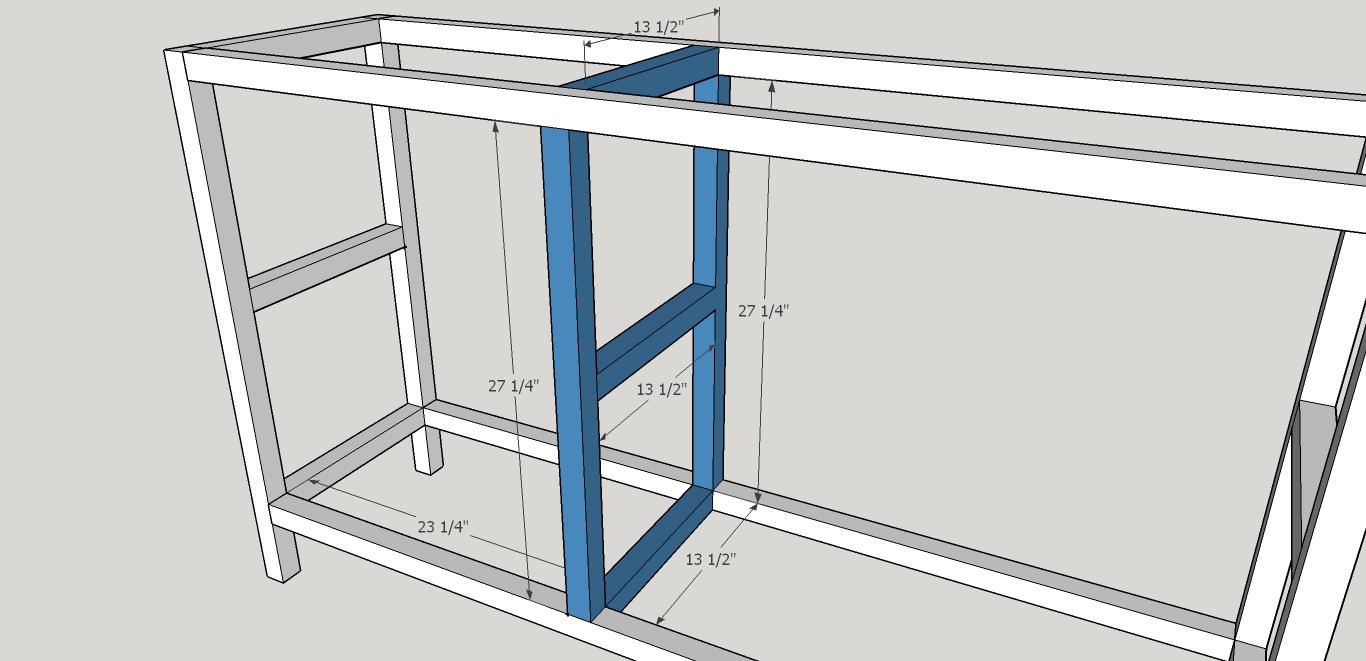
Drill 2 pocket holes on each end of the boards shown. Add the two vertical 27 1/4" boards 23 1/4" from the end panels as indicated on the diagram with the pocket holes facing the back. Secure using wood glue and 8 - 2 1/2" Blue-Kote pocket hole screws.
Add the horizontal pieces at the top and bottom, with the pocket holes facing down. Add the center one at the same height as the end frame (should be at 13" from the top of the bottom span. Secure all with wood glue and 2 1/2" Blue-Kote pocket hole screws.
-
Supports
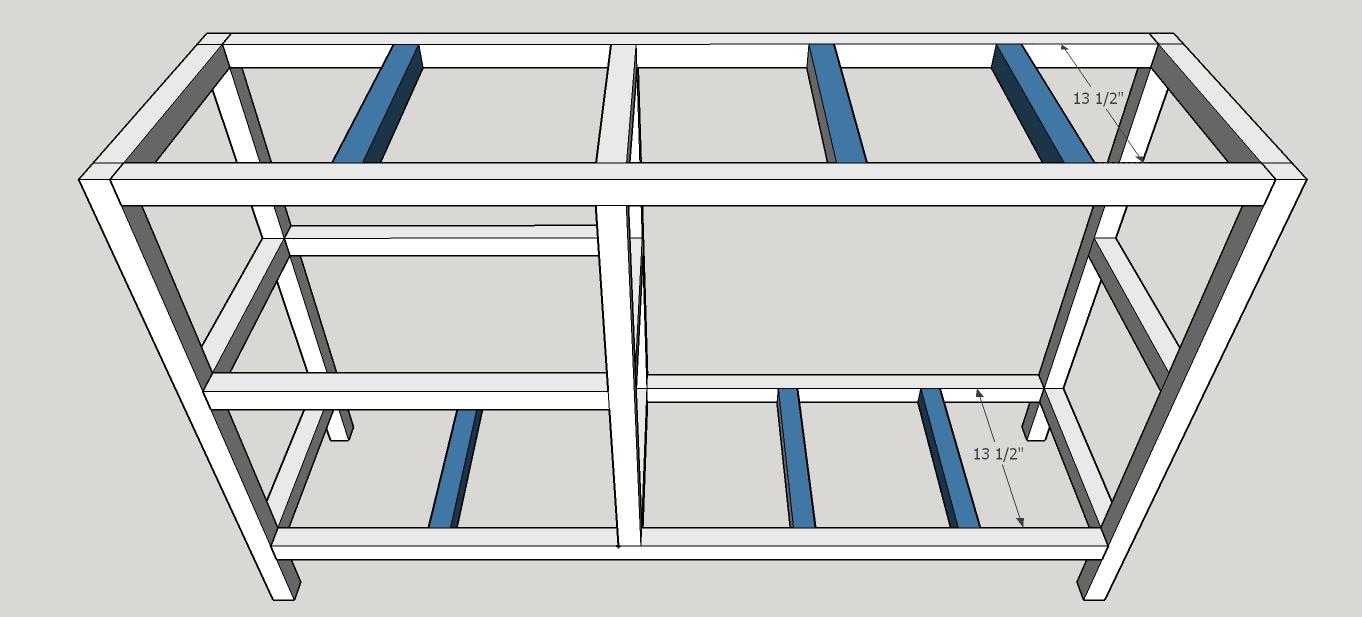
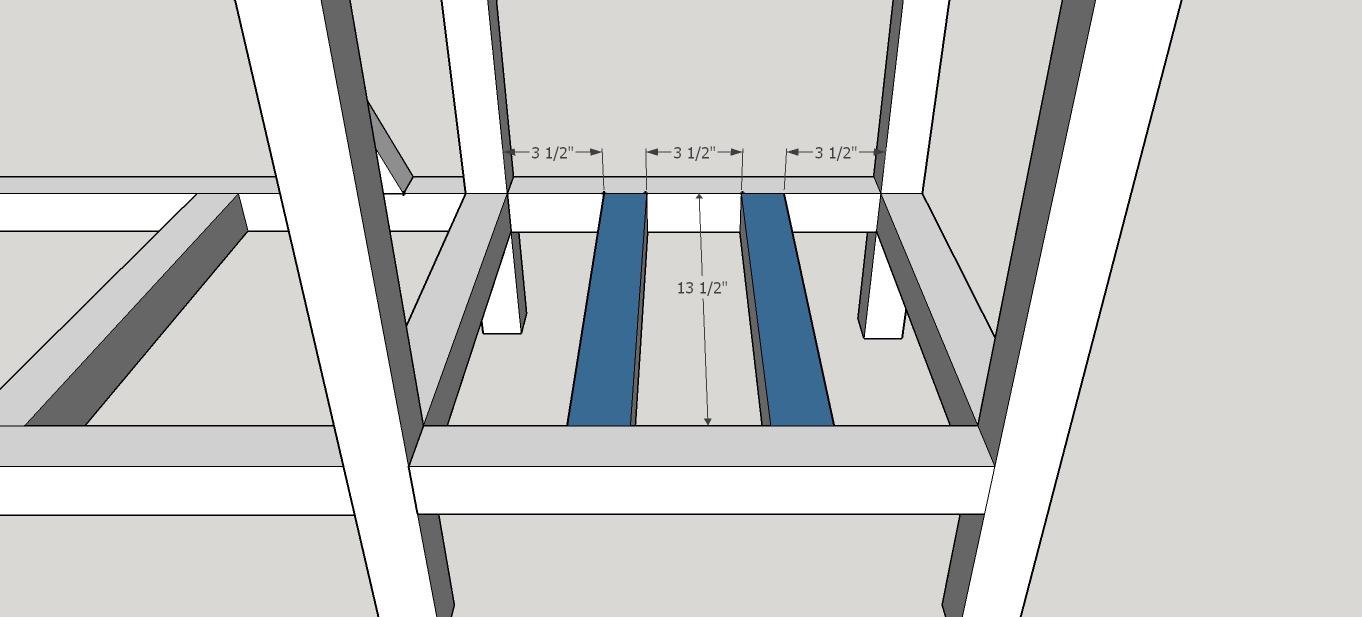
Drill 2 pocket holes on each end of all three 13 1/2" pieces. Add three supports along the top, and three along the bottom as indicated on the diagram, spacing them as evenly as possible. Pocket holes should face the ground. Secure with wood glue and 2 1/2" Blue-Kote pocket hole screws.
-
Shelf Frame
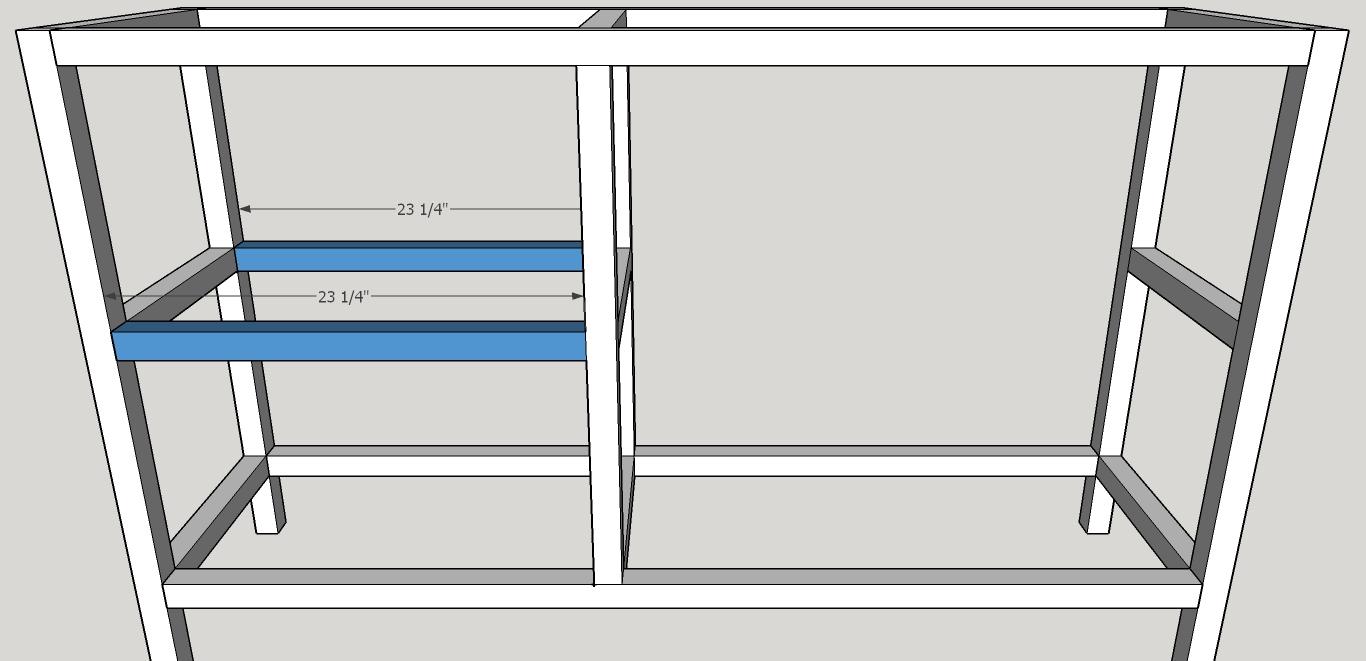
Drill 2 pocket holes on each end of the 23 1/4" pieces. Line them up with the center board on the end frame and center frame and secure with wood glue and 2 1/2" Blue-Kote pocket hole screws.
-
Angled Supports
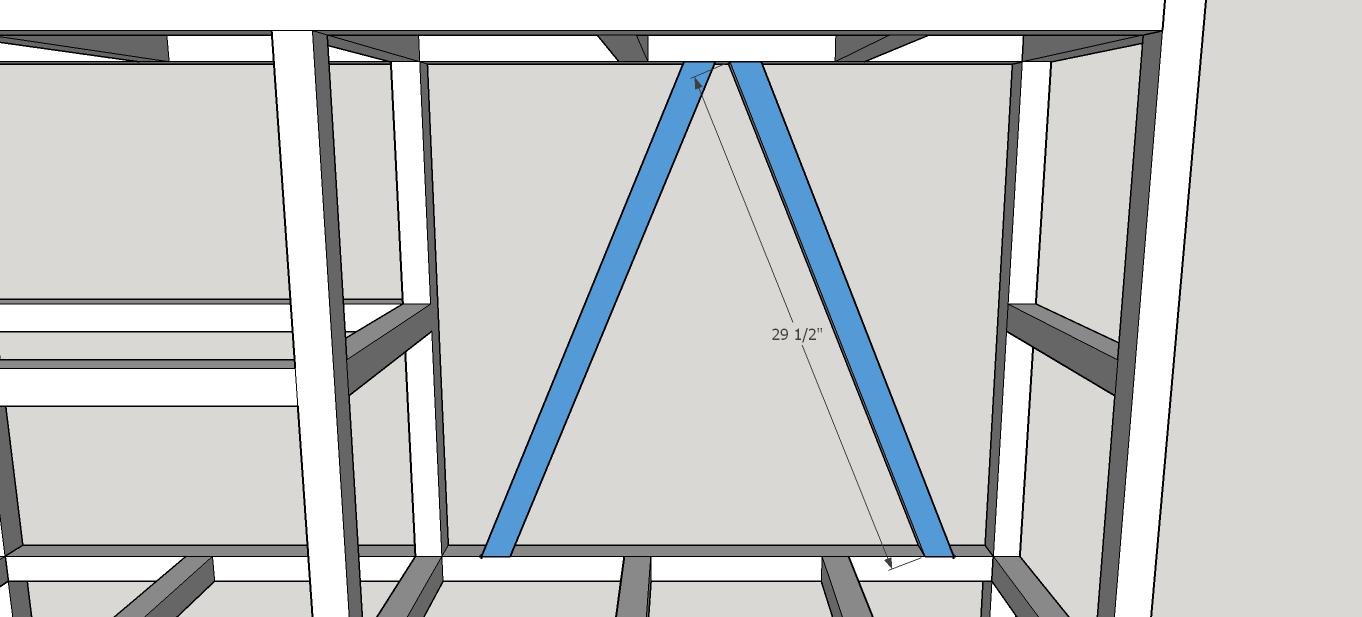
Cut a 2x2x30" board with 22 1/2 angle on each end. Dry fit in the location indicated on the diagram. Remove 1/8" from the length at a time until you reach the proper size so that the angles rest flush on the top and bottom of the frame (you should end up with a board around 29 1/2"). Attach through the top and bottom span boards with a 2 1/2" deck screws by driving into the center of the angled board. Repeat with the opposing angled board.
-
Planter Frame
This can be optional if you just want the bar. If so, you can skip to step 11.
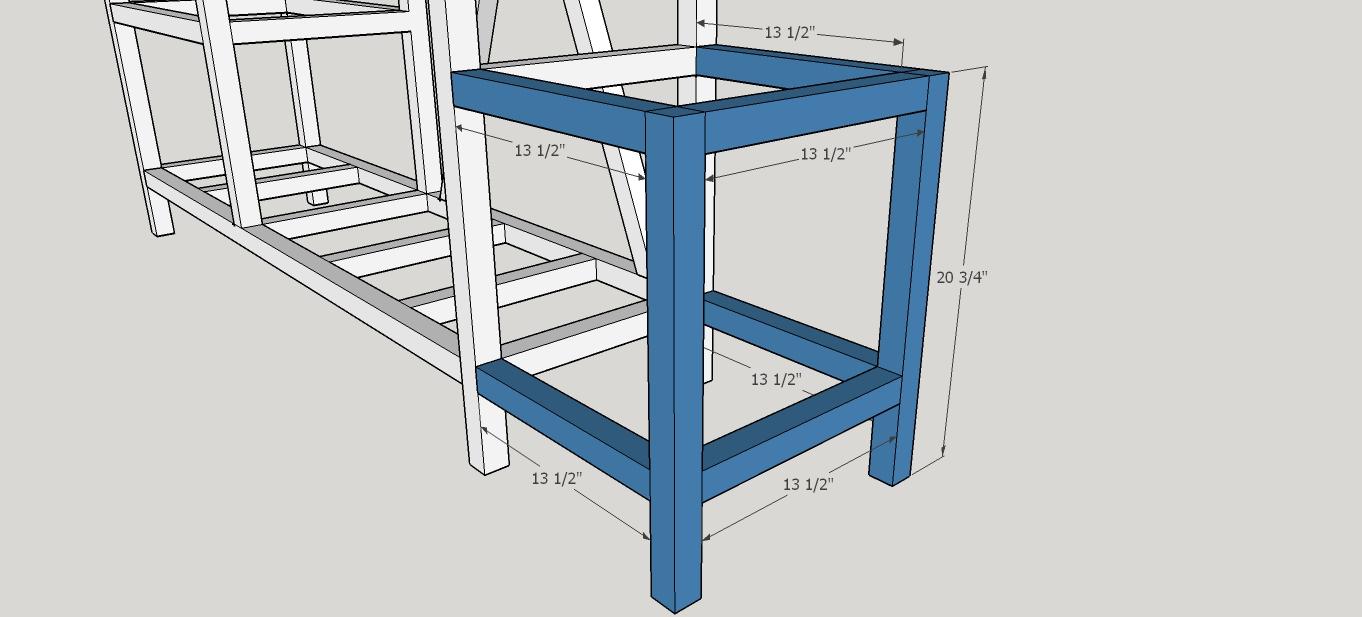
Drill 2 pocket holes on each end of the 13 1/2" boards. The 2 - 20 3/4" boards do not require any pocket holes.
Attach as indicated on the diagram with wood glue and 2 1/2" Blue-Kote pocket hole screws.
-
Planter Bottom
Drill 2 pocket holes in both ends of 2 - 13 1/2" boards. Secure into the bottom fo the planter using wood glue and 2 1/2" Blue-Kote pocket hole screws.
-
Planter Panels
This next step can be done using 1x6 cedar fence boards if you'd like a natural finish. You can also paint them, like we did, or even use a flat piece of weather acceptable plywood if you'd like a solid planter.
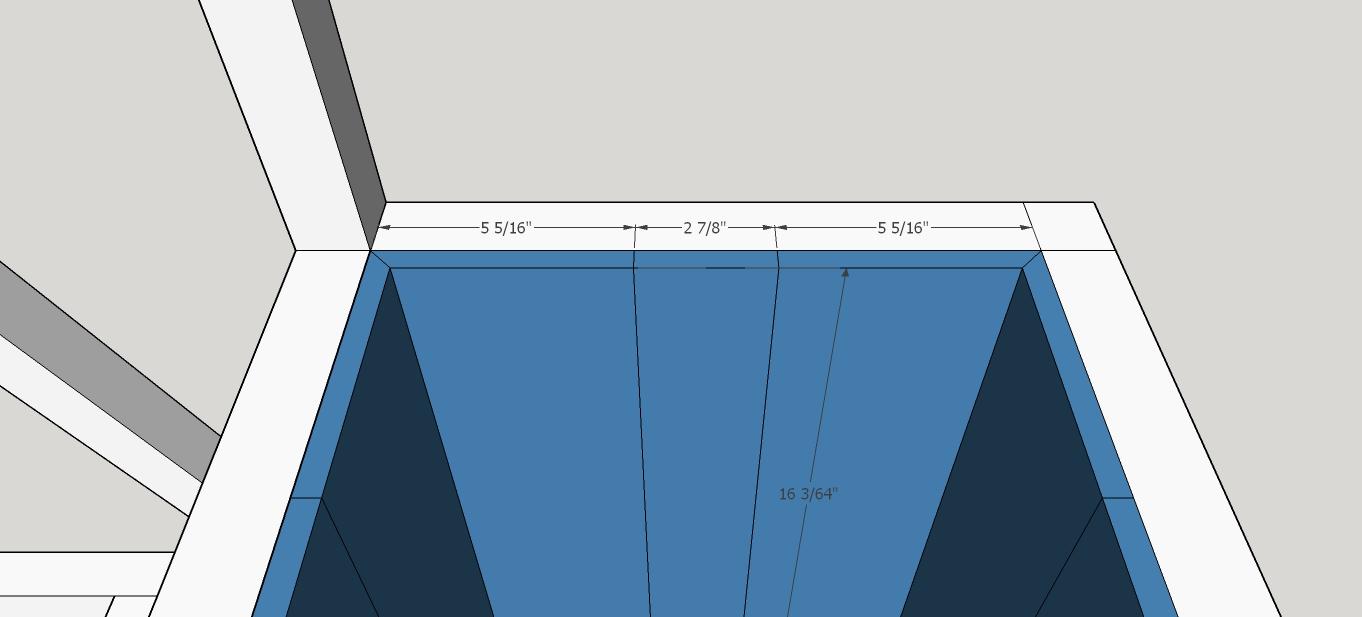
We inserted two full-width fence boards and ripped the last to fit the remaining space. Work one side at a time. Secure to the inside of the frame using 1 1/2" desk screws. -
Trim Planter
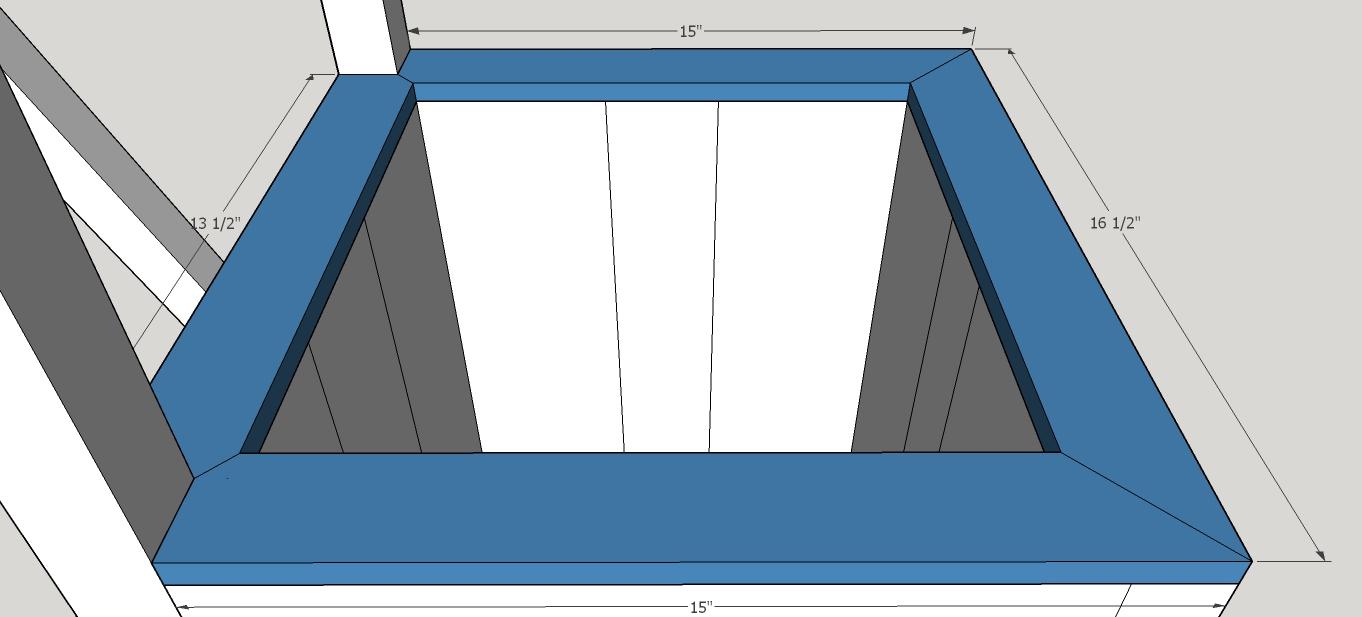
Rip a fence board to a 2" and cut to the lengths and 45 degree angles as shown in the diagram. Secure to the top of the planter with 1 1/2" deck screws.
-
Bottom Shelf
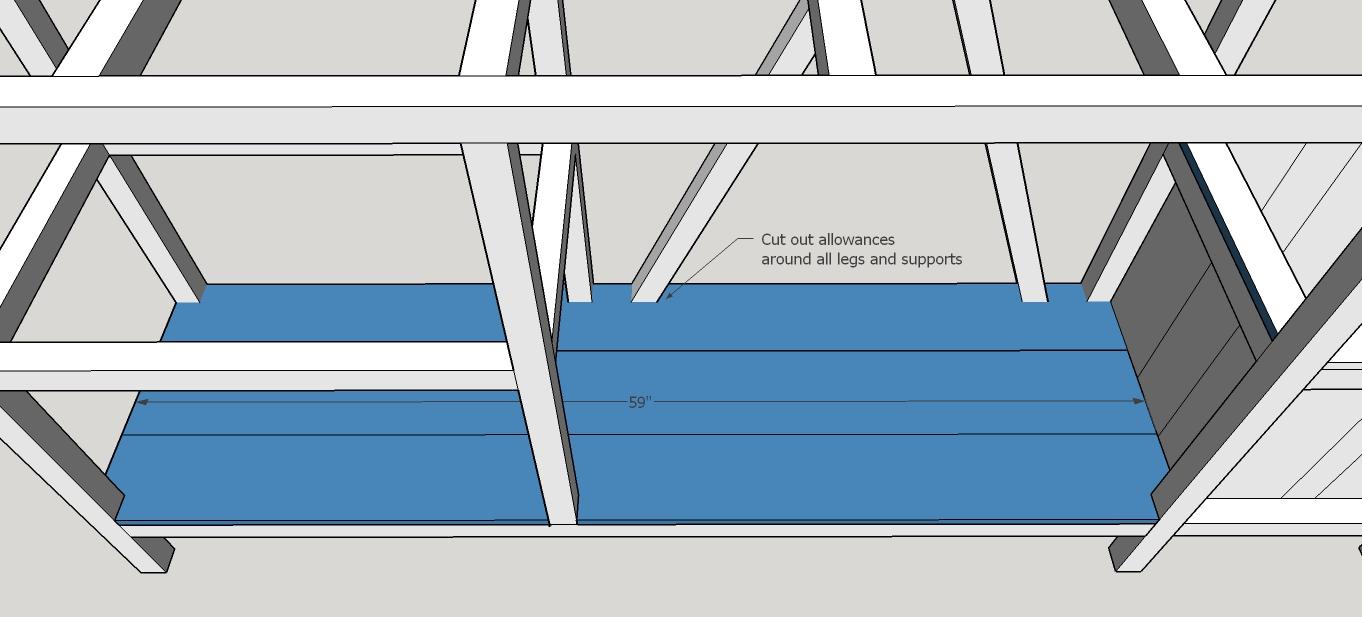
Cut 3 - 1x6 cedar fence boards to 59" in length. Lay one in position against the back legs and angled supports. Mark the locations of the legs and supports. Using a square, mark the area to cut out for the legs to fit into. Using a jig saw, cut the areas you marked to 1 5/8" x 1 5/8" to leave a little allowance for a good fit. If your jigsaw can adjust to 22.5 degrees, do so for the holes for the angled supports. If not, you may need to cut them a little larger. The middle board does not need any cuts. The front board will need cut-outs on each end for the legs and one at the base of the shelf. Dry fit all in place, space out the center board and secure in place on the supports with 1 1/2" deck screws.
-
Middle Shelf
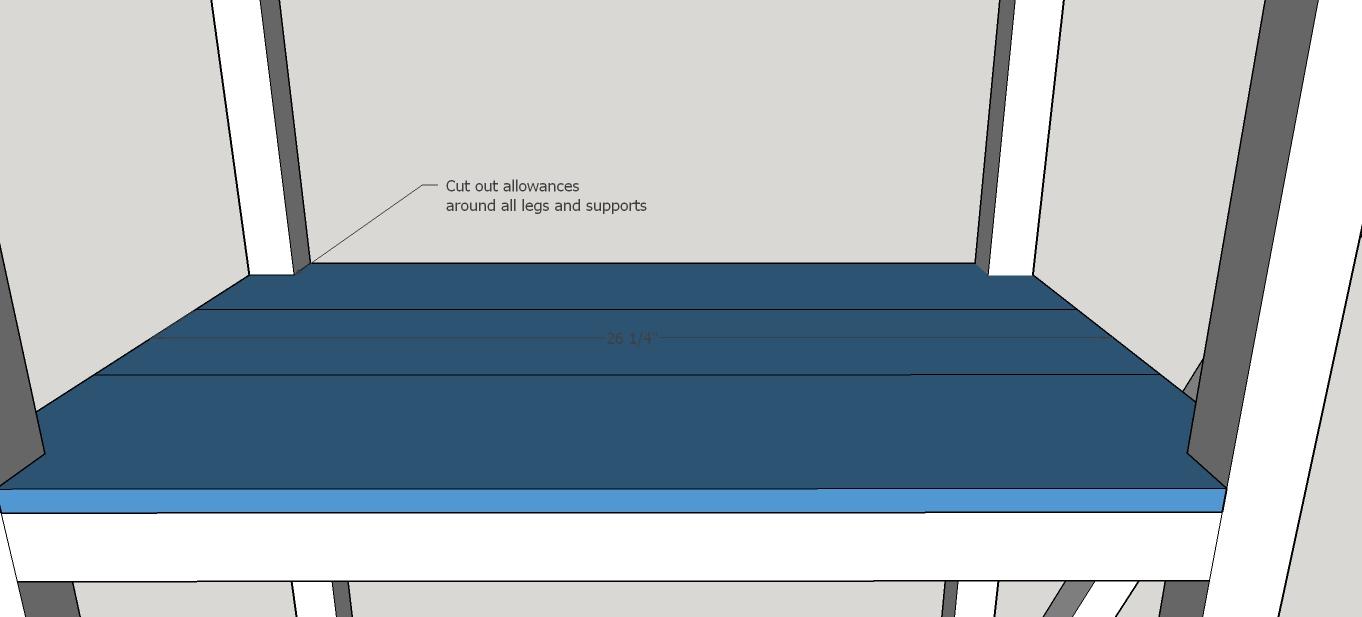
Cut 3 - 1x6 fence boards to 26 1/4", but cut 1 5/8" squares out of the front two corners of one board, and the two back corners of the board that will go in the back. The center board will not require any cutting. Dry fit into place and secure with 1 1/2" deck screws.
-
Top Shelf
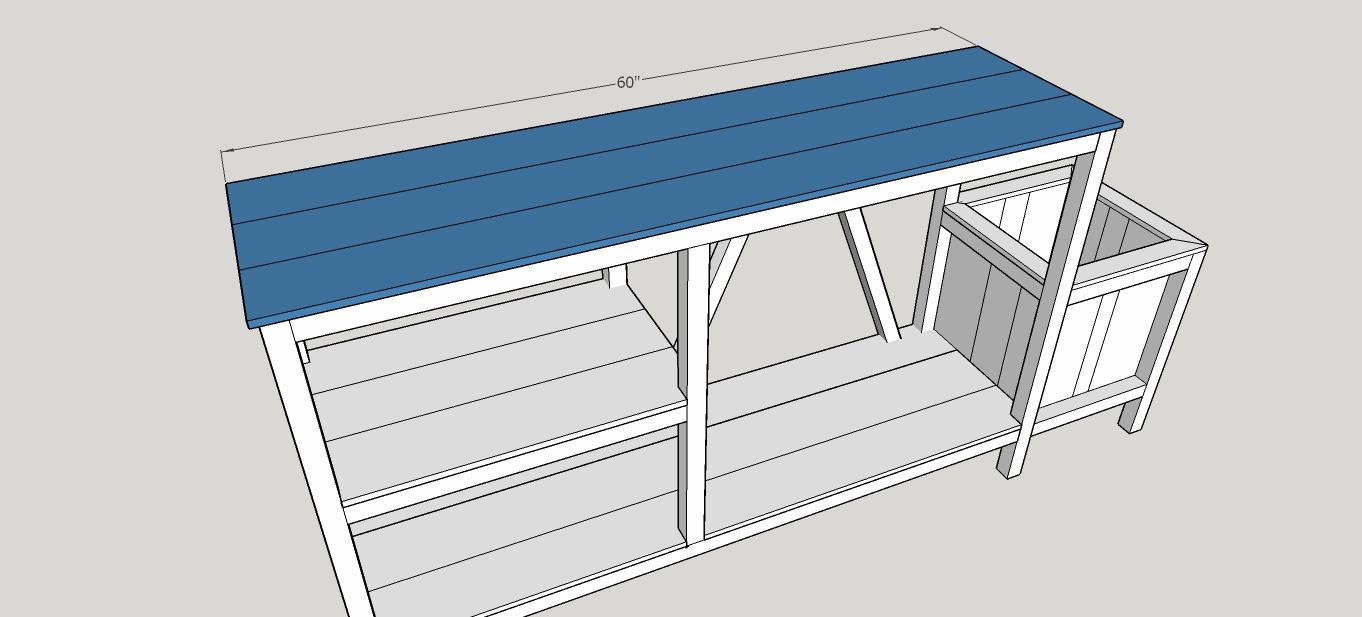
Cut 3 - 1x6x60" boards. Space out appropriately to allow for the appropraite overhang of 1/2" on the left and right side, and flush with the front and back. Secure in place to the supports using 1 1/2" deck screws.


